

Who: everyone · Where: the sign-in page at your Neural Factory address · Works on: Enterprise and SaaS, with different steps
- Enterprise (installed for your company): you sign in with your company’s Microsoft account through Microsoft Entra ID. There is no sign-up form and no Neural Factory password. Read Enterprise.
- SaaS (app.neuralfactory.ai): you create an account with your email address and a password, then sign in with them. Read SaaS.
Enterprise
Sign in
1
Open the sign-in page
Go to the address your company gave you for Neural Factory. The page says Welcome back and Sign in with your organization account.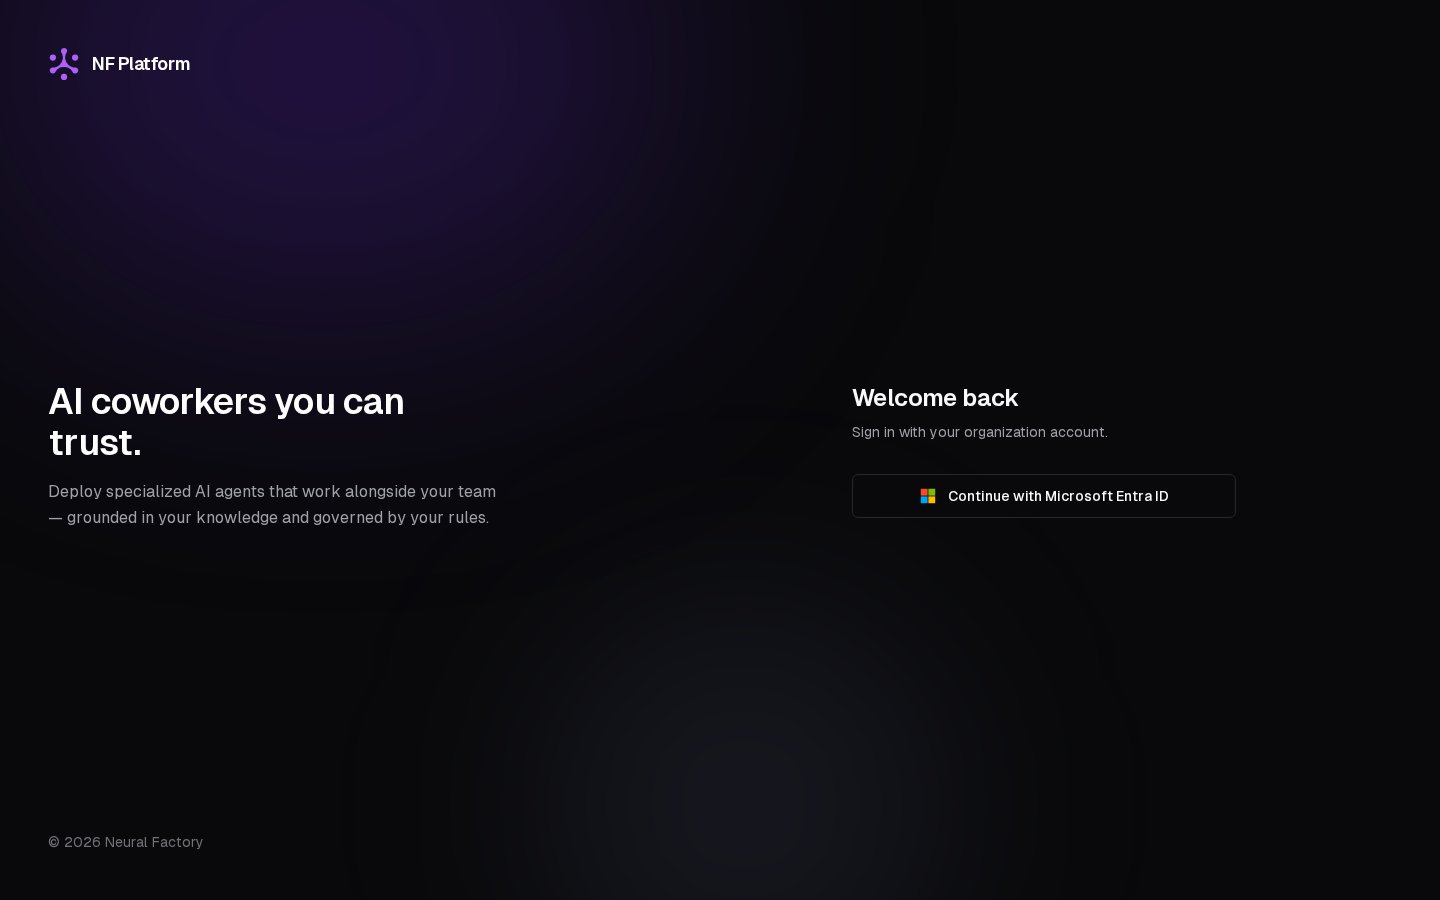
2
Continue with Microsoft
Click Continue with Microsoft Entra ID. Microsoft asks you to pick an account. Choose your work account and complete Microsoft’s sign-in.
3
Land in the app
Neural Factory opens on New task, or on the page you were trying to open before you signed in.
Your first sign-in
Your first sign-in creates your Neural Factory account and adds you to your company’s organization. An Admin can also create accounts ahead of time with Sync from Entra ID in Settings › Users & groups. Your starting role comes from the app role your IT team gave you in Microsoft Entra ID, either directly or through a Microsoft group:
If you hold several app roles, you get the highest one. The app role sets your role only when your account is created. After that, an Admin changes it in Settings › Users & groups, and a later change in Entra ID has no effect. See Users and roles.
Setting up the organization
An Enterprise installation holds one organization, and nobody can use the app until it exists. What you see on your first sign-in depends on your role:- An Admin sees Welcome to Neural Factory and Let’s set up your organization. Enter the Organization Name, optionally upload an Organization Logo (an image of up to 5 MB), and click Create Organization. The organization starts with a ready-to-use agent named General.
- Anyone else sees Organization Setup Required. The page checks every few seconds and lets you in, with the role you signed in with, as soon as an Admin has created the organization. You do not need to sign in again. Sign Out leaves the page.
SaaS
Create an account
1
Open the sign-up page
On the sign-in page, click Create one next to Don’t have an account?. The page says Create your account.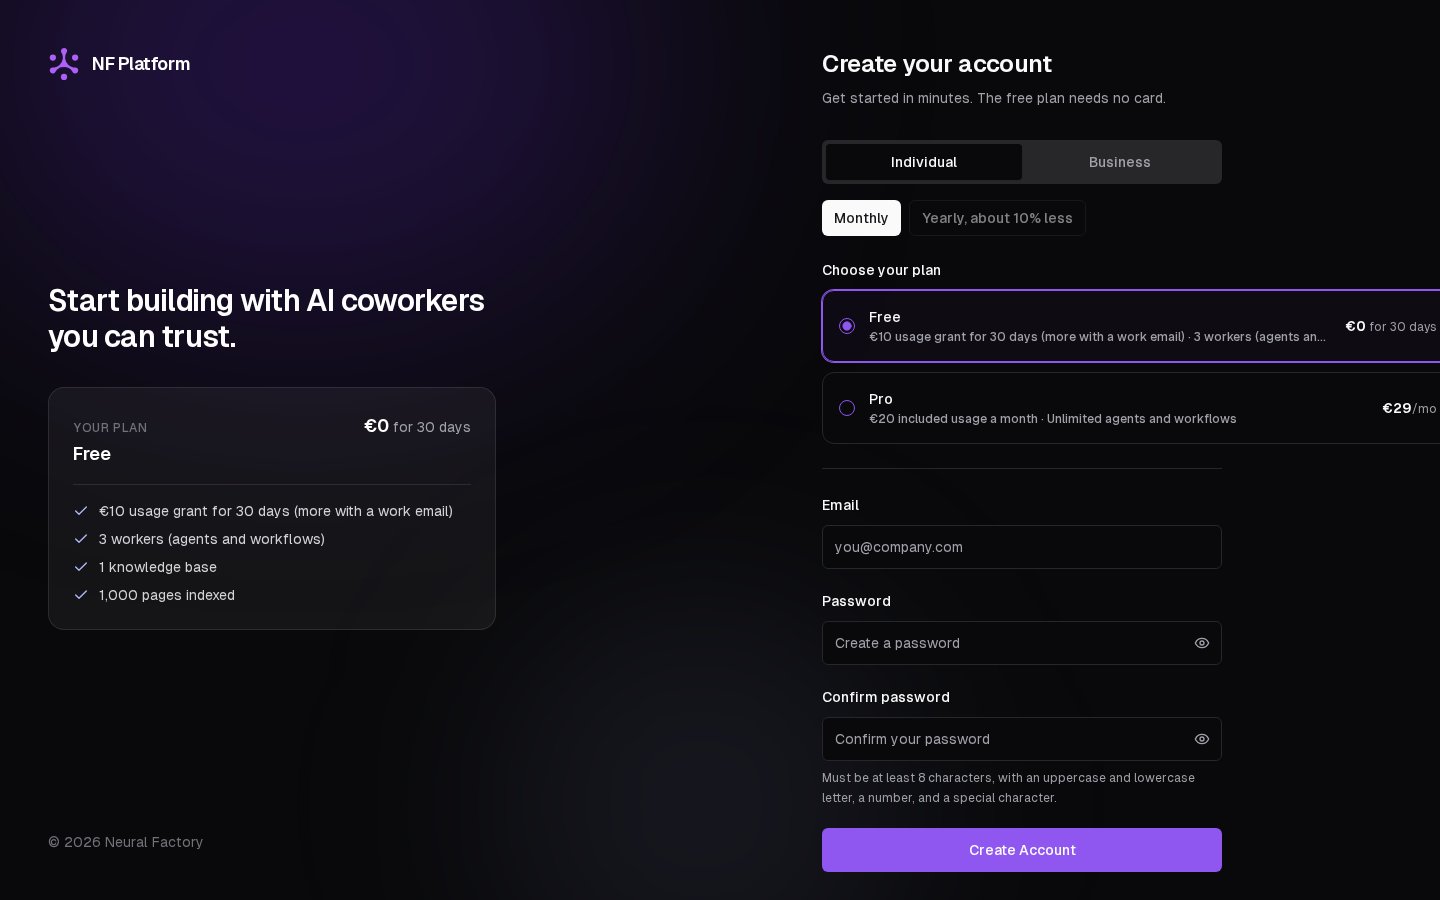
2
Choose Individual or Business
- Individual is a personal account for one person. Under Choose your plan, pick Free or a paid plan. Free is a 30-day trial and needs no card.
- Business creates an organization for a group of people. Set the number of seats (2 to 100), enter the Organization name, and optionally upload a Logo (optional) (up to 5 MB). The organization name must not be taken already.
3
Enter your details
Enter your Email, a Password, and the same password again under Confirm password. The password needs at least 8 characters, with an uppercase letter, a lowercase letter, a number and a special character.
4
Create the account or pay
- On Free, click Create Account.
- On a paid plan, click Go to Checkout and pay. A page says Processing your payment until your account exists, then Payment confirmed. If you close the checkout without paying, no account is created.
5
Verify your email
Open the email Verify your email address and click its link. See Verify your email.
When sign-up refuses an address
When sign-up refuses an address
Sign-up refuses an email address when:
- An account with that address already exists, in any letter case.
- It is a temporary or disposable address, or its domain cannot receive mail.
- On Free, a verified account already uses the same mailbox under another form of the address (for example with a
+tag). Free is one trial per mailbox. - A paid sign-up for that address is still waiting for its checkout to finish.
Verify your email
After sign-up, the page Check your inbox tells you a verification link is on its way. You cannot sign in until you click it. If the email does not arrive, enter your address on that page and click Resend verification email. When the link works, the page says Email verified and takes you to sign in.The link no longer works
The link no longer works
A link works for 24 hours. An expired link opens This link no longer works. Enter your email and click Resend verification email to get a new one, and use the link in the newest email.
You tried to sign in before verifying
You tried to sign in before verifying
Neural Factory sends you a new verification email and asks you to check your inbox. Click the link in the newest email.
Sign in
Go to app.neuralfactory.ai, enter your Email and Password, and click Sign in. A wrong email or password shows Invalid email or password.There is no “forgot password” option. If you cannot remember your password, contact support.
Accept an invitation
An Admin of a Business organization invites people from Settings › Users & groups with Invite User. What happens next depends on whether you already have an account. If you have no account yet1
Open the invitation email
Open the email Invitation to Neural Factory Platform and click its link. The link works for 24 hours.
2
Create your password
The page Create your password shows your email. Enter a Password and Confirm password (the same rules as at sign-up) and click Create password.
3
Sign in
Sign in with your email and the new password. You are in the organization with the role the Admin chose. You do not need to verify your email separately.
1
Sign in
You receive an email saying the organization invited you. Sign in as usual.
2
Answer the invitation
A dialog asks Join followed by the organization’s name, and tells you the role you were invited with.
- Accept: you join the organization with that role. Your personal plan ends, and the unused share of its included usage is refunded to your card. Your top-up balance and your personal agents, workflows, knowledge bases, skills, toolkits and API keys move into the organization.
- Decline: nothing changes.
When an invitation cannot be accepted
When an invitation cannot be accepted
An invitation stays open for 7 days, and the Admin can withdraw it before you answer. You cannot accept while you belong to another organization: leave it first. Accepting also fails when the organization has no free seat or its subscription is not active.
Personal accounts and Business organizations
Every SaaS account is one of two kinds:- A personal account belongs to one person, who is its Admin. Your agents, knowledge bases and other resources are yours alone. You cannot share them, create groups or invite anyone, and Settings shows no General or Users & groups page.
- A member of a Business organization works inside the organization. Its Admins invite people, give each a role (Admin or Member), manage groups, and pay one bill for all seats.
Leave an organization or delete your account
Both are in the menu of your user card at the bottom of the sidebar (the card shows your email). Click the card to open it.Leave organization
Leave organization
You lose access to the organization and its resources, and your account becomes a personal Free account. The organization keeps the seat. The last Admin of an organization must make someone else an Admin first.
Delete account
Delete account
This permanently deletes your personal account and everything in it. You must leave your organization first. If you pay for a personal plan, the subscription stops at once with no refund, and any top-up balance is lost. While one of your workflows has a run in progress or waiting for approval, the deletion is refused.
When you cannot sign in
Your access to this organization was removed. Ask an administrator to invite you again.
Your access to this organization was removed. Ask an administrator to invite you again.
Your organization gave up the seat you held, or the organization was deleted. An Admin must invite you again.
Your access was removed
Your access was removed
You opened a verification link for an account that an administrator removed from its organization. A new link does not help: ask them to invite you again.
An Admin removed you from the organization
An Admin removed you from the organization
You are signed out on your next click. Sign in again, and you are now a personal Free account.
Sign out
This works the same on Enterprise and SaaS. You can sign out in two places:- Click your user card at the bottom of the sidebar and choose Log out.
- Go to Settings › Profile & appearance and click Log out next to Session.
Related
- Quickstart: sign in and send your first task.
- Enterprise and SaaS: how the two deployment types differ.
- Users and roles: what each role may do.
- Set up your organization: name the organization and bring people in.